As a homeowner, one of the most significant aspects of maintaining your property is taking care of the roof that shields you from the elements. A well-maintained roof not only enhances the aesthetic appeal of your home but also ensures its durability and longevity. However, the process of roof restoration can be a complex and intricate endeavor, which may seem daunting to many.
This article aims to provide homeowners with an in-depth insight into the various stages of roof restoration, the materials and techniques involved, and the crucial factors to consider when embarking on this vital journey. By equipping yourself with this knowledge, you can make informed decisions and ensure that your home remains a safe and secure sanctuary for you and your family.
What Does a Roof Restoration Process Entail?
1. Roof Inspection and Assessment
The first step in the roof restoration process is to have a professional roofing contractor inspect your roof and assess its condition. This involves a thorough examination of the roof’s surface, structure, and materials, checking for signs of wear and tear, water damage, and any other potential issues that could compromise its performance.
During the inspection, the contractor will look for cracked, broken or missing tiles, damaged or rusted flashing, and signs of mold or algae growth. They will also assess the state of the roof’s underlayment, ventilation, and insulation. Once the assessment is complete, the contractor will provide you with a comprehensive report outlining the problems found and their recommendations for repair and restoration.
2. Roof Repair
Before the actual restoration process can begin, any necessary repairs must be carried out. This may involve replacing damaged tiles, fixing leaks, and addressing any structural issues found during the inspection.
The extent of these repairs will depend on the condition of your roof and the materials used. It’s important to have all repairs completed before moving on to the next steps in the restoration process, as this ensures a smooth, long-lasting finish.
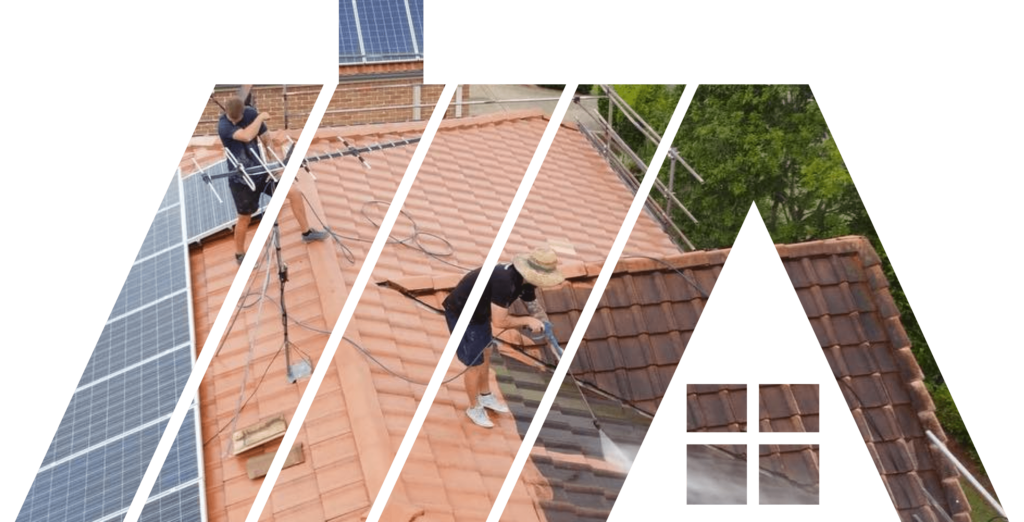
3. Pressure Wash
Once repairs are complete, the roof’s surface will be thoroughly cleaned using a high-pressure water spray. This process removes dirt, debris, and any existing mold or algae growth, ensuring a clean surface for the restoration treatments to adhere to. Pressure washing also helps to identify any remaining issues that may have been missed during the initial inspection and assessment.
4. Preparation and Treatment
After the roof is clean and all necessary repairs have been made, it’s time to prepare it for restoration. This may involve treating the surface with a fungicidal or algaecidal solution to prevent future growth of mold and algae. Depending on the roofing material, a primer may also be applied to enhance adhesion and ensure a uniform finish.
5. Roof Prime and Seal
Next, a roof primer will be applied to the entire surface of the roof. This step is crucial, as it ensures that the restoration coatings will adhere properly and last for many years. The primer also acts as a sealant, helping to prevent water infiltration and further damage to the roof’s structure.
Once the primer has been applied, a sealant will be used to seal any gaps, joints, or seams in the roof’s surface. This is particularly important around areas such as vents, chimneys, and skylights, as these are common spots for water leaks to occur.
6. Roof Membrane and Paint
The final step in the roof restoration process involves the application of a protective roof membrane or coating. This is typically a waterproof, UV-resistant material that helps to extend the life of your roof by protecting it from the elements. It’s available in a range of colors, allowing you to choose a shade that complements your home’s exterior.
Once the membrane has been applied, a final coat of roof paint will be used to provide additional protection and enhance the overall appearance of your roof. This paint is specifically designed for use on rooftops and is formulated to withstand the harsh conditions it will be exposed to.
The Bottom Line
Understanding the roof restoration process is crucial for homeowners looking to maintain the value and appearance of their property. By familiarizing yourself with the key steps involved, from inspection and repair to sealing and painting, you can ensure a successful project and a roof that will serve you well for years to come.
Remember to choose a reputable roofing contractor to carry out the work, as they will have the expertise and experience necessary to complete your roof restoration to the highest possible standards. For the best roof restoration in Brisbane, contact URB’n Roofing today. Our team of experienced professionals is ready to help with all your roof restoration needs!